New woodworkers and adept woodworkers alike have all heard the #1 rule of sanding; ALWAYS sand with the grain. The question is, why? What happens if you sand against the grain? What are the advantages of sanding with the grain?
Sanding with the grain will reduce tear-out, and minimize visible scratches by aligning the grooves created with the sandpaper with the fibers in the wood. By sanding with the grain, the natural appearance of the wood will appear more defined after a coat of stain or paint has been applied. Sanding against the grain will cause grooves to become more noticeable as they will be perpendicular to the wood fibers.
Sanding with the grain has many benefits and is the preferred method of sanding by many woodworkers, but there are also times when using power sanders that they operate completely against this logic. Keep reading as we take a closer look at the direction of sanding and how it affects your project.
Why Is it important to sand with the grain?
Sanding with the grain allows the sandpaper to cut grooves along the fibers of the wood, in its natural direction. This will make scratches practically undetectable and will allow the wood to maintain its natural look.
When you sand wood, you are using the rough surface on sandpaper to tear bits of wood away with each pass. The small bumps on the underside of the sandpaper will travel in the path of the sandpaper and will cut along the line that you travel.
When you travel against the grain you are creating these grooves against the fibers of the wood, which is not the wood’s natural direction. It will leave noticeable scratches in the wood after applying a coat of stain or paint.
However, there can be a benefit to sanding against the grain. If you need to perform a lot of material removal, sanding against the grain can help with this. This is where random orbital sanders tend to do well in comparison to hand sanding (more on that in another section).
Can You Fix Wood That Has Been Sanded Against the Grain?
If you sanded against the grain without realizing what you were doing, you may go into panic mode. There is no reason to worry though, it can be easily fixed.
To correct wood that has been sanded against the grain, just go over it again but sand with the grain. If it still shows scratches, you may need to lower your grit depending on how deep the scratches go.
If you use a damp cloth to clean the wood after you sand it, it can clean the dust off as well as make the wood slightly wet. This will make any scratches left in the wood stand out. Just repeat this process until there are no more scratches visible.
If the scratches run fairly deep, you can use a random orbital sander to speed up the process. I would just recommend doing a final hand sanding pass with the grain to clean up any small scratches left behind by the sander.
Should I wipe down wood after sanding?
It is a good idea to wipe down the wood after each grit you use. Clearing sawdust from the wood as you sand can help minimize scratches, make your sandpaper last much longer, and help identify any scratches that may be present.
Soft Bristled Brush

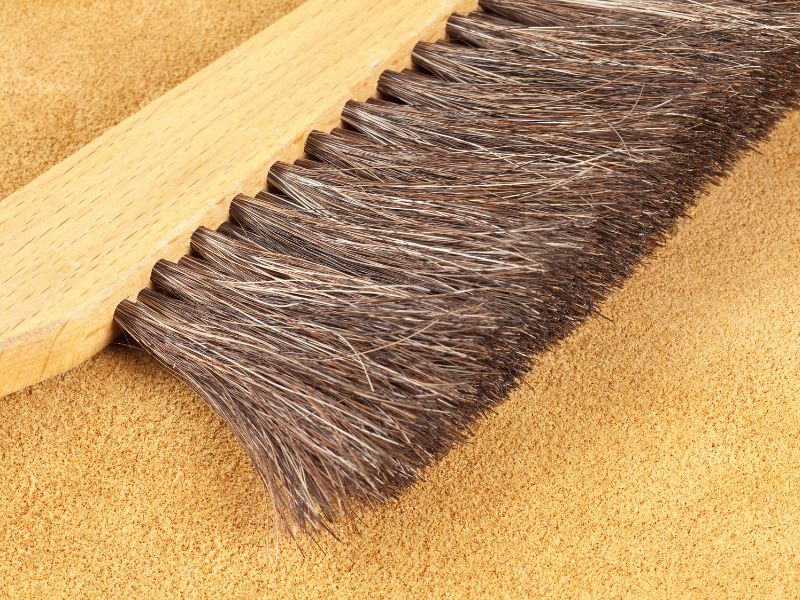
The easiest way to clear the sawdust off the wood is with a soft bristled brush. You can use a soft-bristled brush to brush the surface off, which provides a quick way to clean off the sawdust between successive passes with the sandpaper.
This is my preferred method when cleaning between sanding grits. The downside is that you won’t notice scratches as well unless you get the wood a bit wet. This is where mineral spirits can be useful (more on that below).
Tack Cloth
You can also use a tack cloth which is a type of fabric treated with a tacky substance. These are specifically designed to cling to any dust and debris that you may find on the surface of the wood while sanding. I would recommend using this at the end of sanding after you have given the wood a good brushing.
Vacuum
A vacuum is an extremely good way to keep dust under control. Not only does it remove the dust from the wood, but it captures it as well to keep it from floating around the shop and landing on everything in sight.
There are several people who hook their shop vacc to their sander or create a way to have it vacuum the wood as you sand. Creating this setup is worth it, in the long run, to also help with dust control.
Mineral Spirits
Another method of cleaning your workpiece is to use mineral spirits. This has a few benefits, as it can help clean dust created from your sander, and also clean the wood of any oils that may be residing on the wood that could interfere with staining.
When you use mineral spirits, it will make the wood slightly wet and will also show any remaining scratches left that you need to work on.
Random Orbital Sander sands all directions, will this ruin my project?

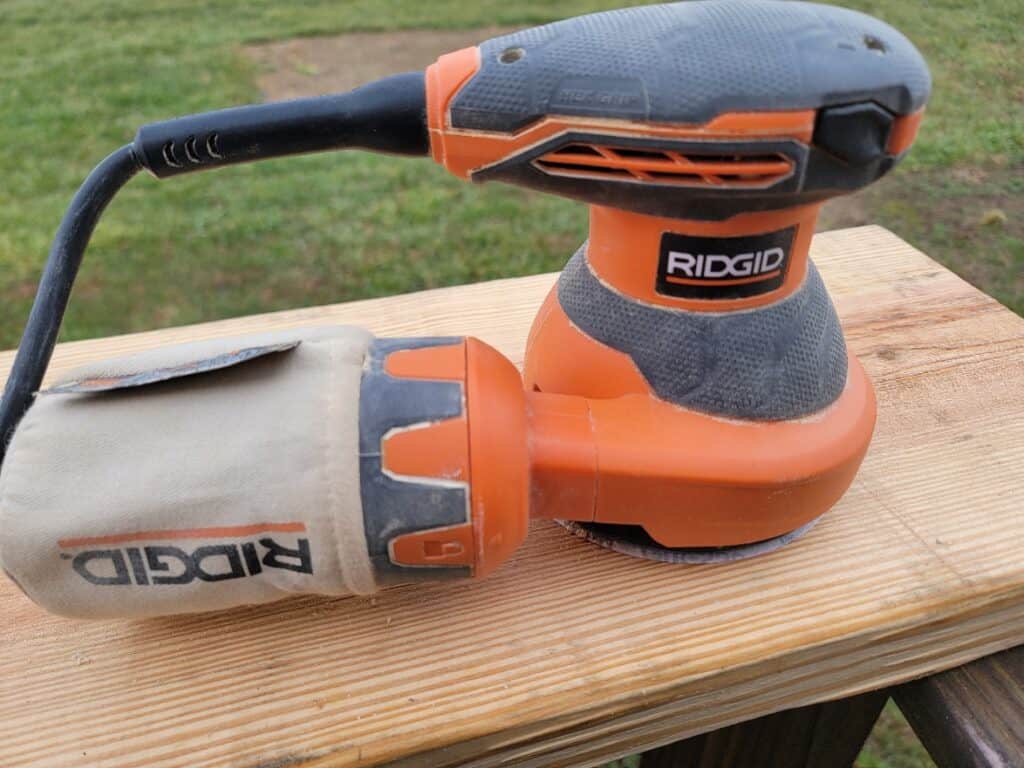
There is a lot of talk about sanding with the grain, but when you use a power sander such as the random orbital sander, it sands in ALL directions. What does this mean for your project? Well, fortunately, not a lot. It is a great tool to finish a majority of your sanding quickly.
Due to the nature of the random orbital sander, it spins and orbits in an elliptical pattern ensuring that the grit of your sandpaper never travels through the same spot. The randomness of the pattern doesn’t eliminate scratches but just masks them. They become hardly noticeable which is great for powering through your sanding.
Even though a random orbital sander is a great tool for sanding quickly, I would still recommend sanding with the final grit by hand with the grain. This will help the natural look of the wood show through when applying stain, and eliminate any small scratches that the sander may have inadvertently created.
Conclusion
When you sand your project, the rule still stands true; sanding with the grain is the correct move. However, if you sand against the grain, it’s not the worst thing that can happen to your project. Just be sure before you apply stain to your project, that your cross-grain scratches are still not showing and you should be fine.
If you use a random orbital sander, perform a final pass with the grain to get rid of any micro scratches that the sander may have created.


