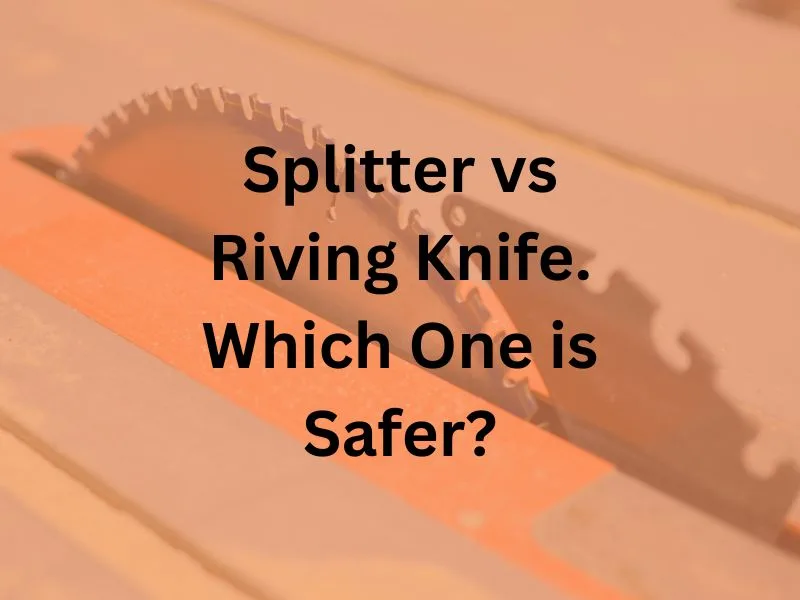
When doing some research on table saws online, I found an interesting question posed on the web. Someone wanted to know which kickback prevention tool worked best, a splitter or a riving knife?
Being naturally curious myself, I did some research on my own to find out the answer. What I found out is this,
A riving knife is the safer option compared to a splitter for more than one reason. The main design difference is the riving knife is directly attached to the saw’s arbor instead of the table itself like a splitter. This lends the riving knife several advantages:
- It can sit closer to the blade than a splitter
- It closely follows the curve of the blade
- The height of the riving knife will adjust with the blade
- The angle of the riving knife will adjust with the blade
- The riving knifes height is just below the top of the blade allowing for non-through cuts
Riving Knife’s Purpose
A riving knife is a safety feature added to table saws to prevent kickback during cross-cutting and ripping of a board. While performing either of these cuts, a single piece of lumber is pushed through a table saw blade to split the board into two pieces. As the two boards come out on the other side of the blade, some scenarios can cause the two boards to not stay parallel throughout the process. Once this happens, the board can close up on the blade while it is still moving.
This is where things can go bad quickly. The blade of a table saw is typically moving anywhere from 3,000 to 4,000 RPMs or faster and has a significant amount of torque.
When the blade gets pinched, the wood is not able to hold the blade and the blade will instead send the workpiece back toward the operator at a high rate of speed. This is a very dangerous scenario and is the exact reason the riving knife was created.
A riving knife is positioned directly behind the blade to prevent the two pieces of wood from pinching the rotating blade. Instead, they will apply pressure to the riving knife which is stationary and reduces the chance of kickback.
You should always use a riving knife when possible, but do keep in mind that it will not eliminate the possibility of a kickback, it will only reduce the chance of it happening. You should always follow table safety guidelines even while using a riving knife.
TABLE SAW SAFETY TIPS
- Stand to the side when making cuts
- Use push sticks to keep fingers away from the blade
- Use a riving knife
- Wear safety glasses
- Never free-hand a cut
- Use anti-kickback paws if possible
- Never reach over a spinning blade

Correct Position of a Riving Knife
The riving knife on a table saw needs to be positioned correctly to allow it to work properly. The correct position of the riving knife will need to be directly behind the blade. It will need to sit centered with the blade and should be slightly lower than the height of the blade. This will allow for the riving knife to stay attached even for non-through cuts.
The riving knife will be slightly thicker than the saw blade plate but thinner than the kerf of the saw blade. To correctly align the riving knife directly behind the saw blade, a straight edge or ruler will be needed. You will place the ruler against the teeth of the blade and check the gap between the ruler and the riving knife. This distance should be the same on both sides of the blade. Once this is set, the width is then correct.
The next step is to ensure that the riving knife is parallel to the blade. If the two are not parallel it can cause binding issues and a possible kickback scenario. To check that the blade and riving knife are parallel, use the same method as before, except measure at the bottom of the riving knife and the top. This gap should be the same. If there are discrepancies, adjust the riving knife until it becomes parallel, then recheck the riving knife’s width.
Continue this process until there are no more adjustments to be made. A final visual inspection that everything looks correct will help as a final check that there are no issues.
If you are like me, you learn better from watching instead of reading. I have found a helpful video that walks you through checking and adjusting a riving knife’s position, which you can watch here.

Why Do People Remove the Riving Knife?
A riving knife’s purpose is to prevent kickback when making through cuts as we discussed in the previous section. So then how come we see so many people taking their riving knives off?
Well, the answer is simply because a riving knife is only needed when making through cuts. If you are making a non-through cut, or dado cut, then the two pieces of wood won’t be able to pinch the blade, and a riving knife is not needed. However, most riving knives sit just below the top of the blade so that you can make dado cuts without removing the riving knife. This is the ideal situation but not always the case.
Some table saw riving knives sit above the blade height or have blade guard components which would prevent you from making a dado cut. In this instance, you would have to remove the riving knife for the cut. Just remember to only work on the blade area with the machine powered off and unplugged.
Can You Add a Riving Knife to a Table Saw?
This topic doesn’t have one straightforward answer, but instead has a few different scenarios that your table saw could fall under.
The first is that all current table saw models today are required to come with a riving knife installed for safety purposes. Any table saw sold after 2008, is required by UL (Underwriters Laboratory) to come standard with a riving knife. If you maybe purchased a used table saw manufactured after 2008, and it does not have a riving knife, check the owner’s manual. The table saw more than likely can mount a riving knife, you just may need to purchase it as a spare part from the manufacturer. Adding a riving knife in this case is as simple as ordering the correct component and mounting it to the table saw.
The second scenario is if the table saw was purchased before 2008 and does not have a riving knife. It is possible that the table saw was never designed to add a riving knife, or it was just an optional accessory. Once again, check the owner’s manual and see if there is a spare parts list or any documentation about a riving knife or splitter. If the table saw does not have an optional riving knife accessory, you will need to look at aftermarket options. This is not a universal option and will need to be specifically purchased to fit your brand of table saw.
Just keep in mind not every table saw can add a riving knife or splitter. However, if your table saw can mount a riving knife, we highly recommend adding one to give an extra layer of safety when making your cuts.
Conclusion
A riving knife is the safer option over the splitter. However, if you can’t have a riving knife on your table saw but can have a splitter, we recommend using it. Any protection is better than no protection at all.